How to wedge Mason Stains into Clay
One common ways potters use mason stains is by wedging them directly into clay. And yes—it works! But personally, I don’t make colored clay this way.
Why? Because for me, it’s messier, harder to get even color distribution, and more labor-intensive than it needs to be. I’ve found that blending stains into a liquid slip and pouring that onto a plaster slab gives me more control, consistency, and less cleanup. It also allows me to create larger batches and repeat colors more easily down the road.
That said—if you’re keen on wedging your stains straight in, I get it! You might not have a plaster slab or you just want to play around when you are starting off. If you’d like to jump right in with wedging in your color, here’s how I would approach it:

Tips for Wedging Stain into Clay
Start with soft, slightly sticky clay.
It should be easy to work with—stiff clay will fight you the whole time.Wear a good mask.
Mason stains are fine powders that can be harmful if inhaled. Always work in a well-ventilated space and wear a respirator mask with P100 cartridges.Pre-blend your stain with a small amount of water.
I like to hydrate the stain just enough to make a paste—it helps reduce dust and makes mixing easier.Break your clay into slabs or chunks.
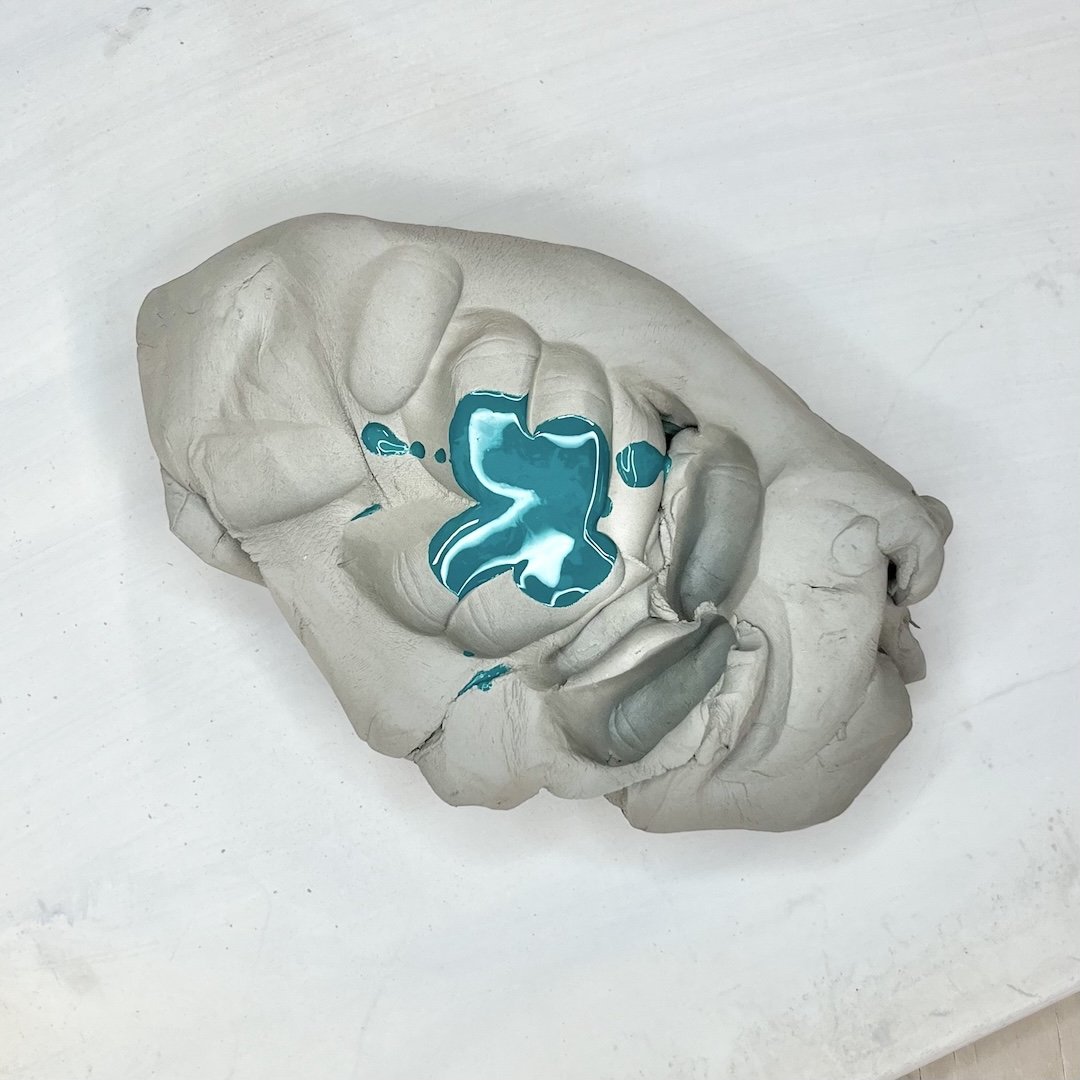
Flatten the clay out like a lasagna sheet, smear the stain paste on top, and layer it back together like a cake. Then wedge, wedge, wedge until it’s fully blended.Check for streaks.
Slice the clay open to check for uneven color. If you see marbling, you’re not done yet—keep wedging!


Suggested Color Amounts for Wedging
The percentage of Mason Stain that is added to clay is relative to the amount of dry material in your clay body. That being said, most commercial clays contain about 75% dry material and 25% water. In other words, if you have 1lb (453g) of clay, then 0.75lbs (340g) is dry material and 0.25lbs (113g) is water. Therefore, if I want a saturated, 15% color, I need to wedge about 51 grams of stain into one (1) pound of clay (0.15 x 340).
Here are color suggestions for those who wish to wedge stain into moist clay. Download the printable, .PDF version here. These are just jumping-off points—you can adjust based on how saturated or soft you want the color to be:

Always test first—colors will vary depending on your clay body, firing atmosphere and glaze.
Whether you wedge your stain in or pour your colored slip out like I do, there’s no “wrong” way to make colored clay—just what works best for you. If you’re curious about my slab-pour method, I’ll share a full breakdown in an upcoming post!
Happy making,
Lydia