How I Make a Plaster Slab
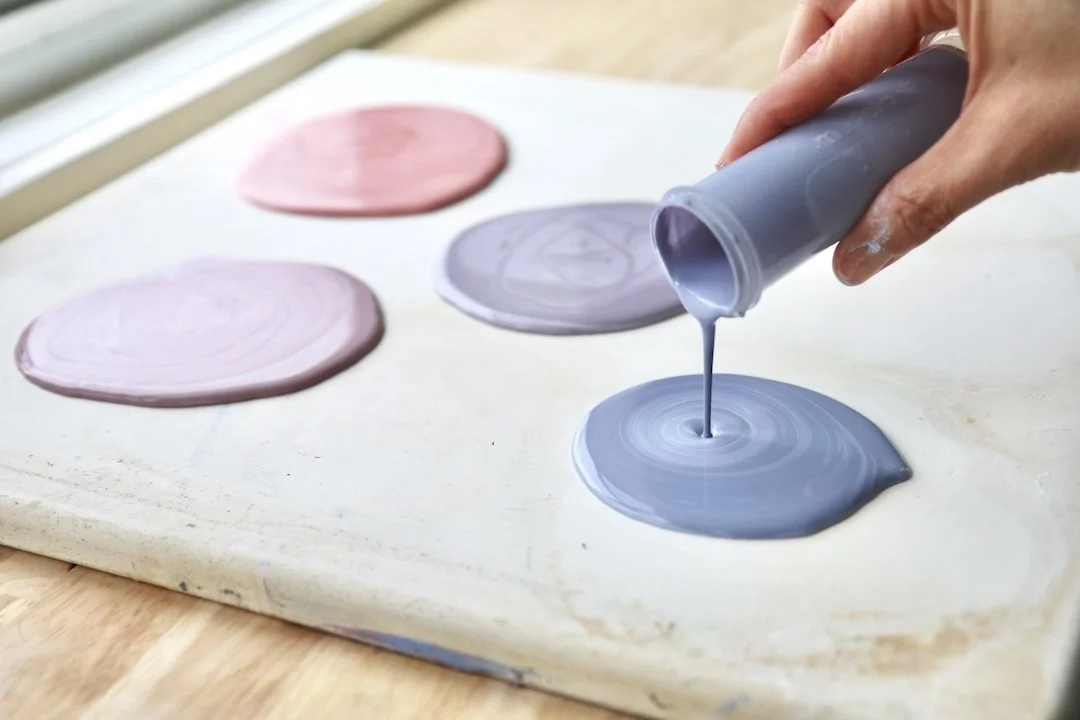
Having a plaster slab is invaluable! Plaster slabs absorb water so they are perfect for reclaiming clay that needs to be dried out a bit and making colored clay from slip. But buying a premade plaster slab is expensive. If you work in colored clay, being able to make yourself as many plaster slabs as you need is essential. I have a couple different size I use for various tasks and use them nearly every work day.
I remember feeling intimidated by plaster before I ever used it. I never learned how to work with it in a class, and it felt mysterious. What I quickly learned is that you don’t need to be intimidated. Making a plaster slab is actually very straightforward, and with just a few supplies and some basic guidelines, it’s hard to mess up. Once you do it once, I’m sure you’ll think, “that was easy"!
Supplies
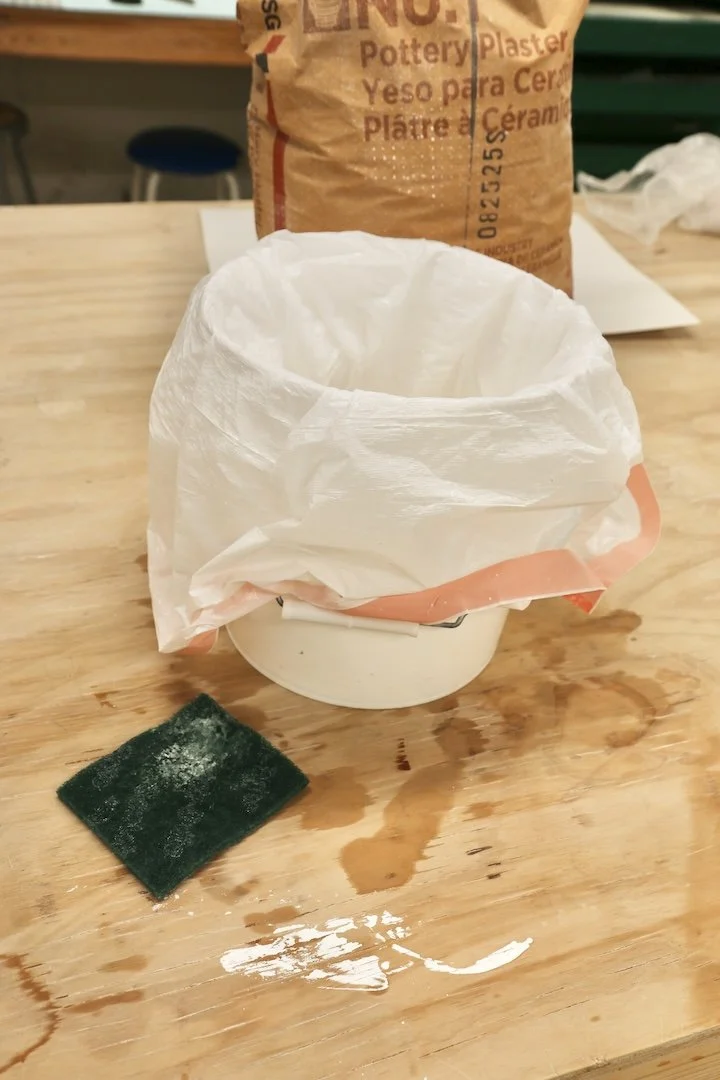
A rinse bucket lined with a plastic trash bag and filled with water
Ideally 3 separate buckets (Bucket sizes depend on how much plaster you’re mixing)
One for weighing water
One for weighing plaster
One larger bucket for mixing
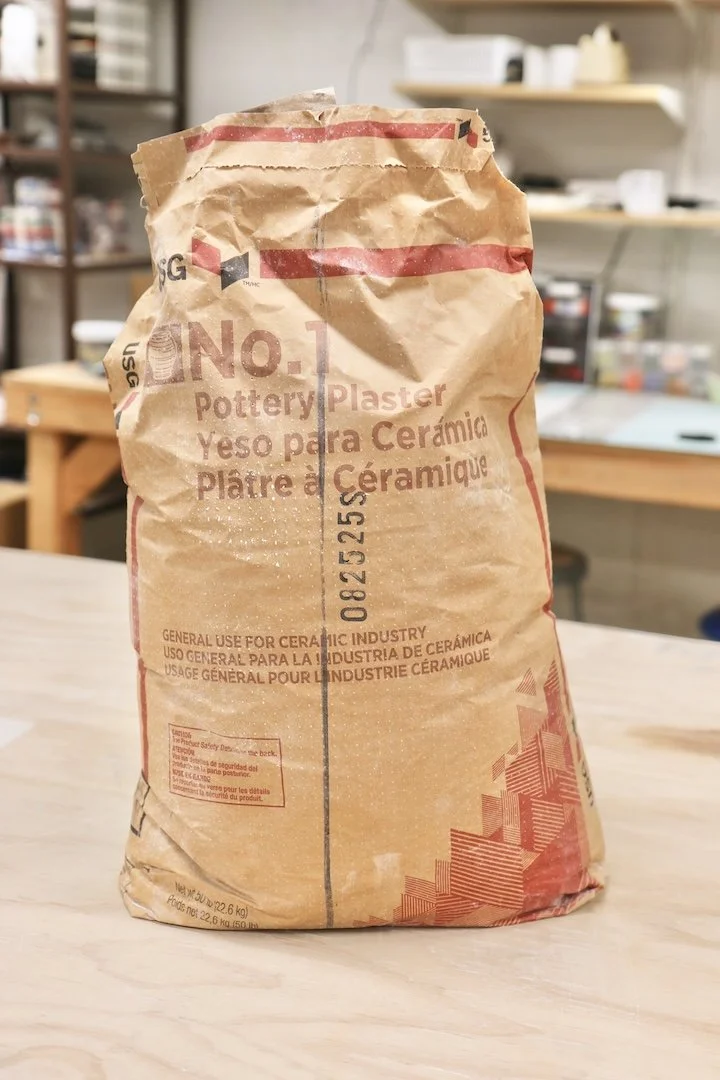
This must be purchased from a ceramic supply company. It is not the same as hardware store plaster.
Scale
Timer (your phone works perfectly)
Some type of mold for pouring the plaster
Plastic Tupperware bin
Disposable foil baking pan
Silicone pan
Coddle Boards
Cardboard box (in a pinch)
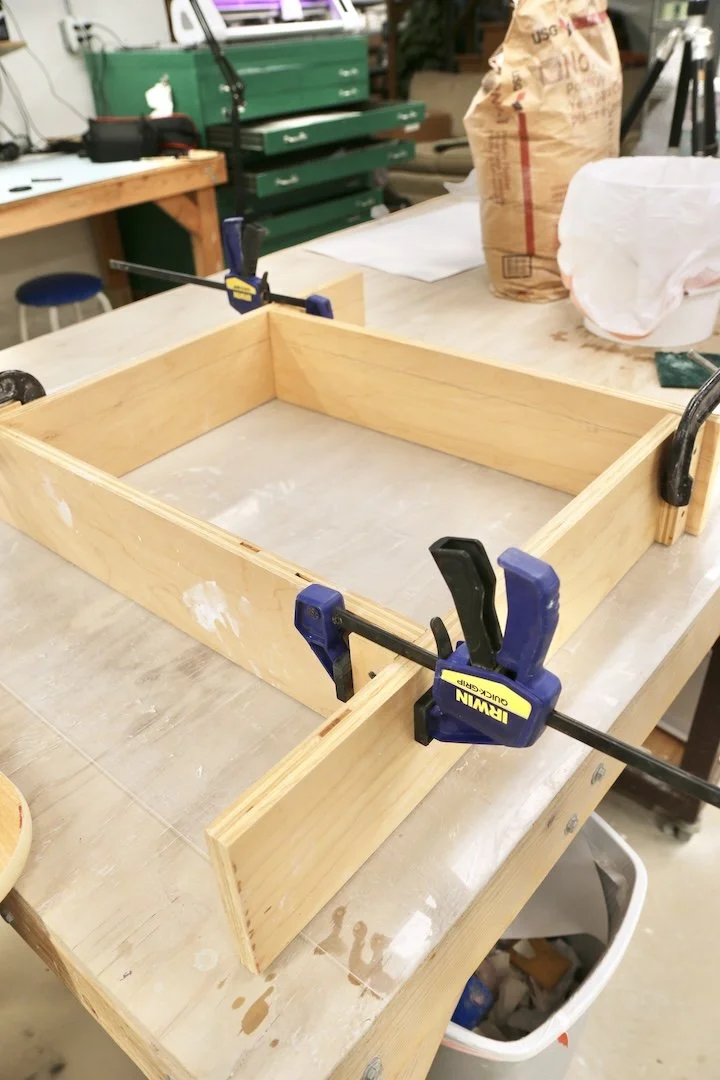
In my demo, I use coddle boards that I made myself on top of an acrylic panel so I can get a perfectly smooth slab. I don’t love the branding or texture that comes from Tupperware or baking pans, but that’s purely a preference. Functionally, all of the above work perfect and are extremely easy methods to form a slab.
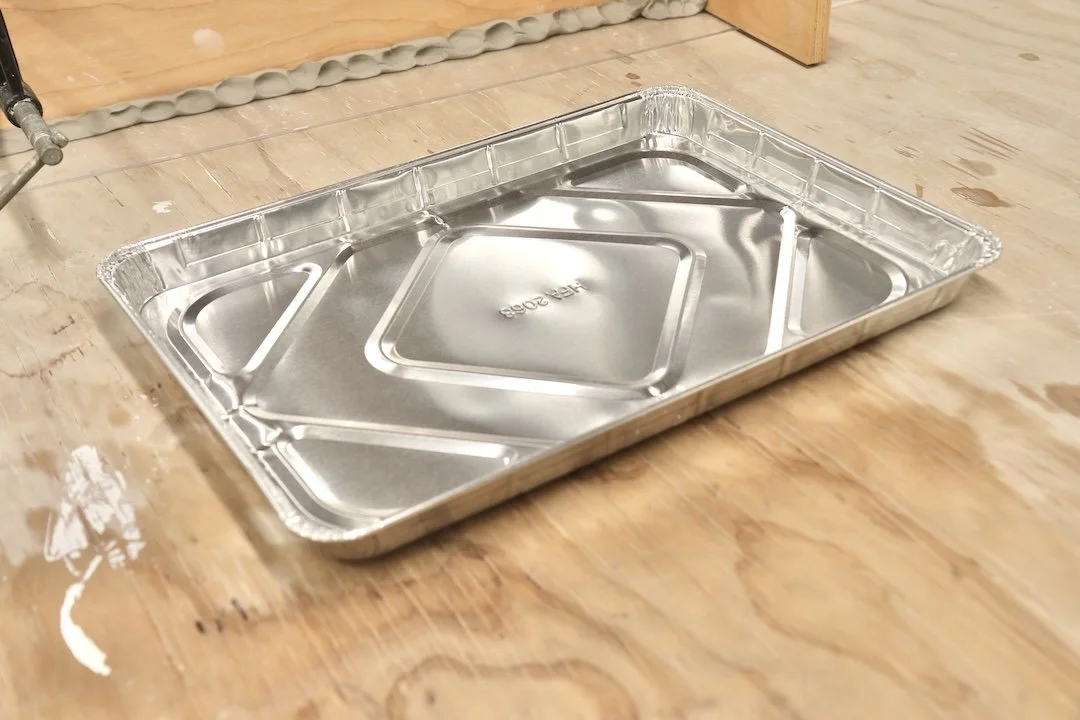
A disposable aluminum pan is an inexpensive and efficient way of making a plaster slab.
Important Notes Before You Start
Never put plaster down the sink
Plaster starts as a liquid, then undergoes a chemical reaction and solidifies. If you pour it down your plumbing, you’re asking for a major problem. Instead, use a dedicated rinse bucket. Rinse all tools and hands in this bucket, let the plaster settle to the bottom, pour off the clean water and tie up the trash bag and discard it. This keeps plaster completely out of your pipes.
Weighing is your friend
You can eyeball plaster, but I find weighing it just as easy and reliable. When you weigh, you know you’ll get consistent results every time.
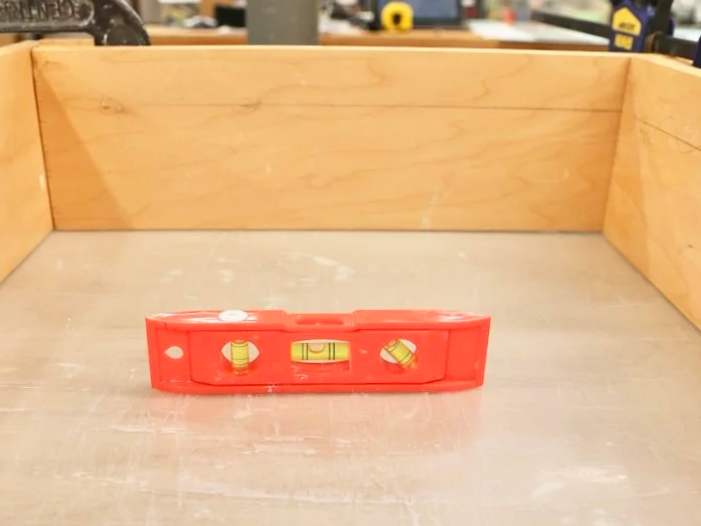
Use a level surface
If your surface isn’t level, your slab won’t be either. You’ll notice a slope once it sets. If you need a level surface, put your mold on a board and level the board with shims or clay.
Step-by-Step: Making the Plaster Slab
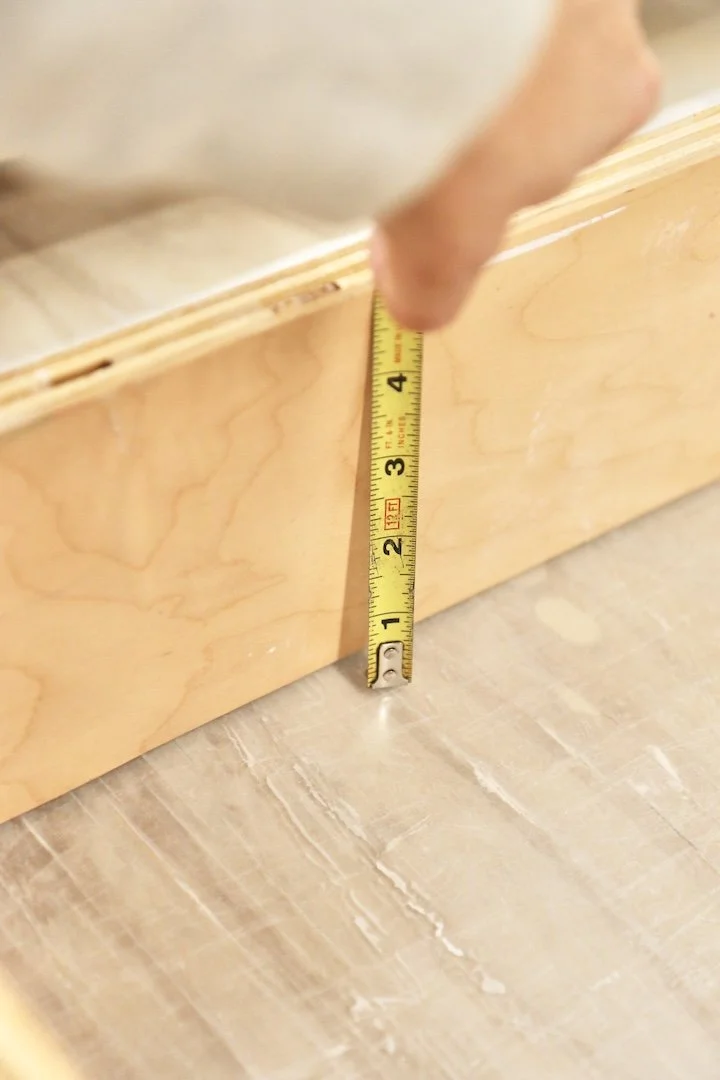
1. Calculate the volume
After setting up your mold, find the volume of the area you forming. To determine how much plaster you need, calculate the cubic area of your slab using:
Length × Width × Height (in inches). For my demo slab, I’m making mine 22” x 16” x 1”.
Plaster Volume Calculator
Volume: — cubic inches
Water Needed: — grams
Pottery Plaster Needed: — grams
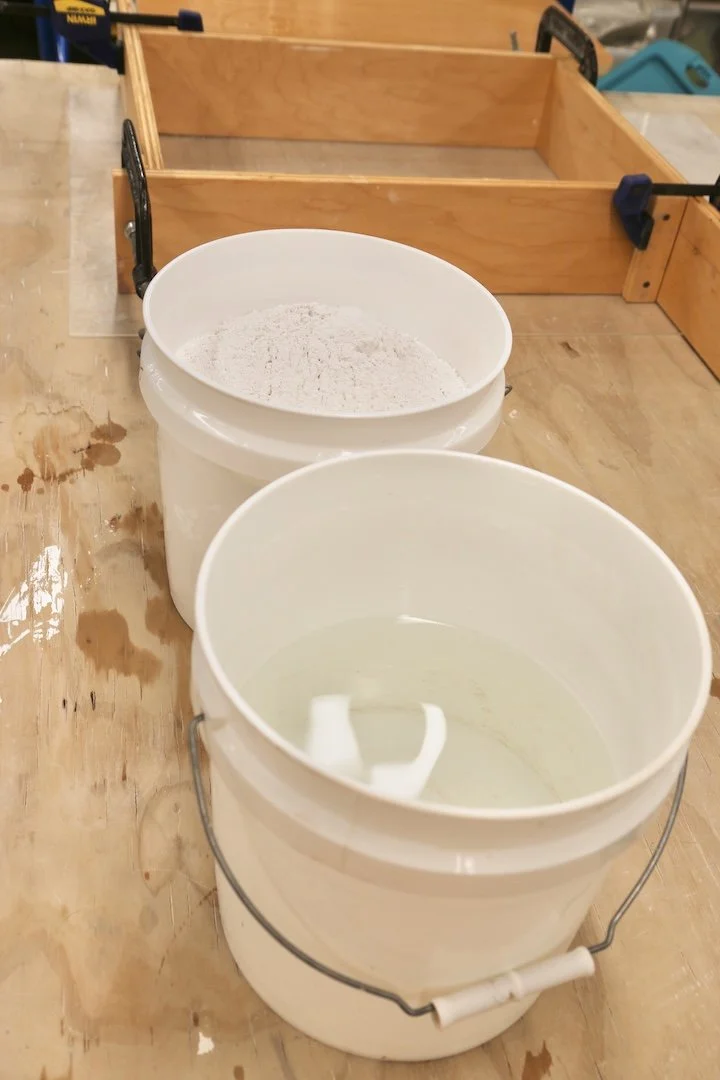
2. Weigh your materials
Based on my calculator, I need 3872 g of water and 5531 g of plaster.
Weigh room temperature water first in one bucket
Weigh dry plaster in a separate container
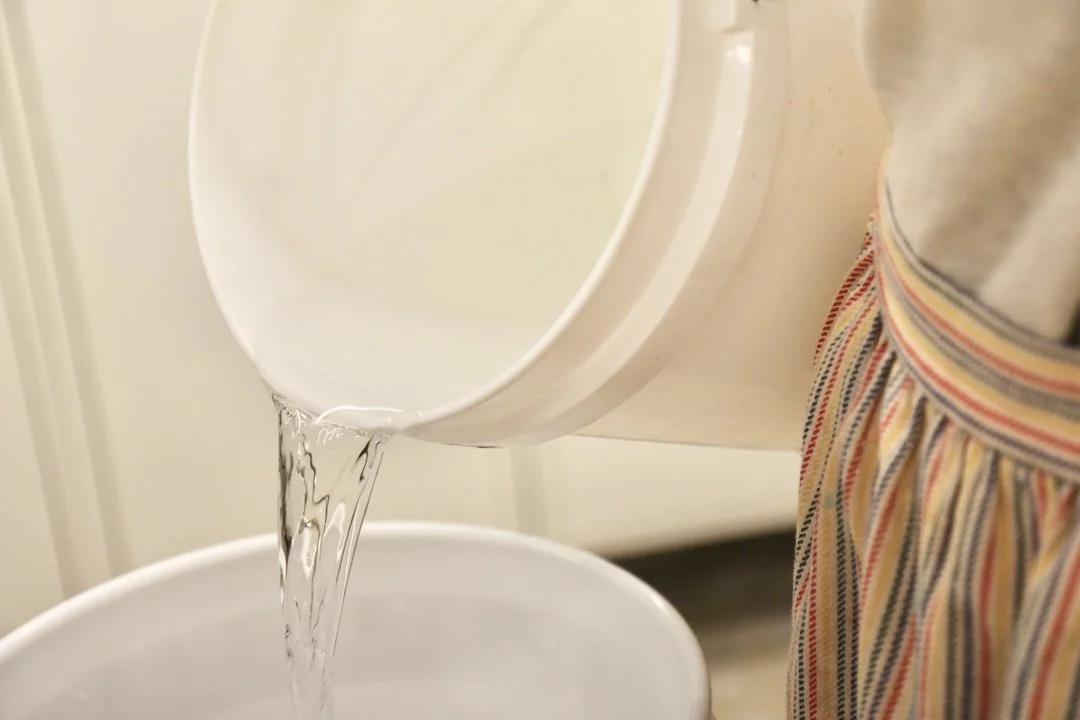
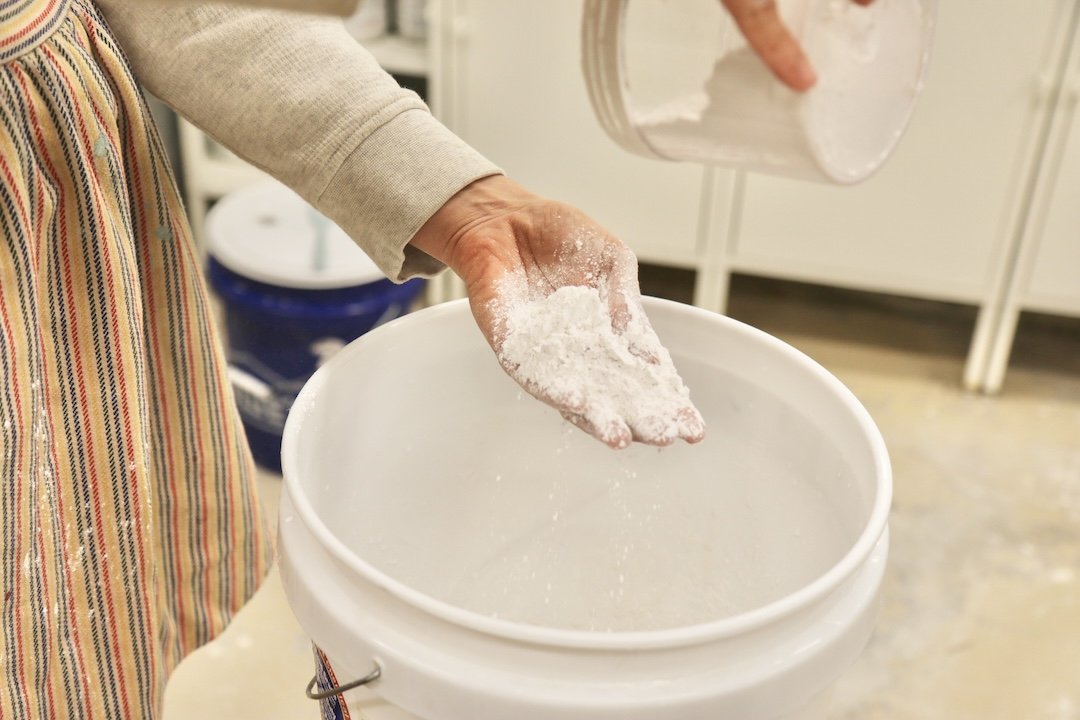
3. Add water & plaster to larger bucket
Pour water into larger bucket. Slowly sprinkle the plaster into the water by the handful or cupful. Distribute it evenly across the surface and don’t dump it all in at once. The goal is to let the plaster gently sink and hydrate evenly.
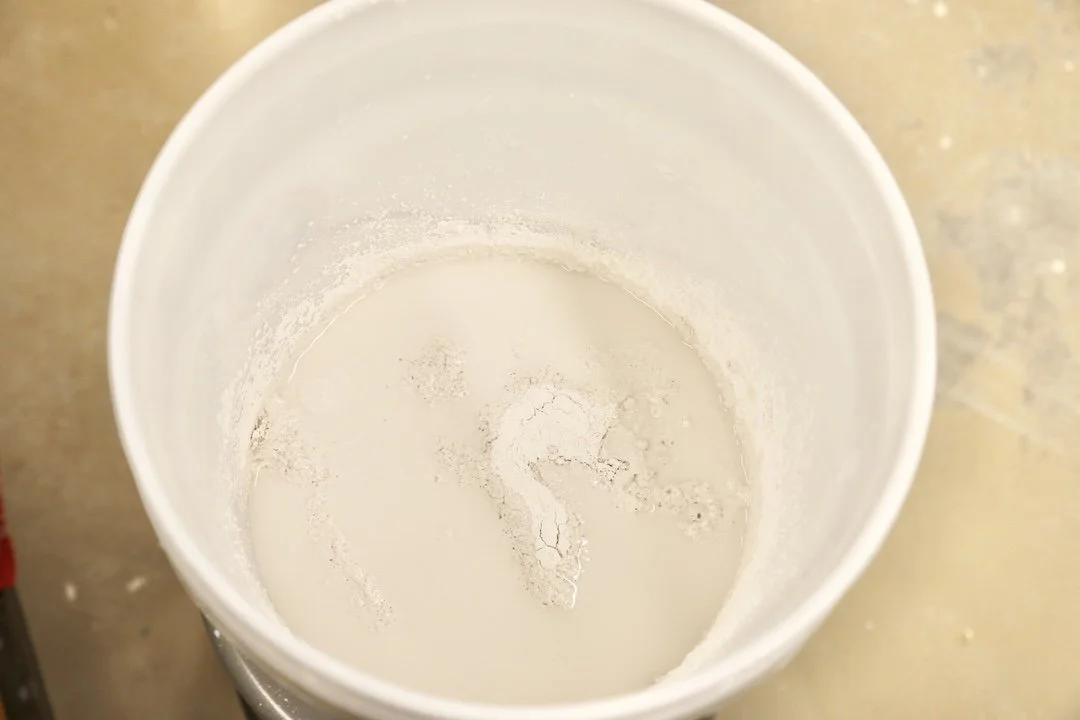
4. Let the plaster slake
Once all the plaster is added, do not disturb it. Set your timer and let it sit for 3 minutes. This soaking, or slaking, allows the plaster to fully hydrate before mixing.
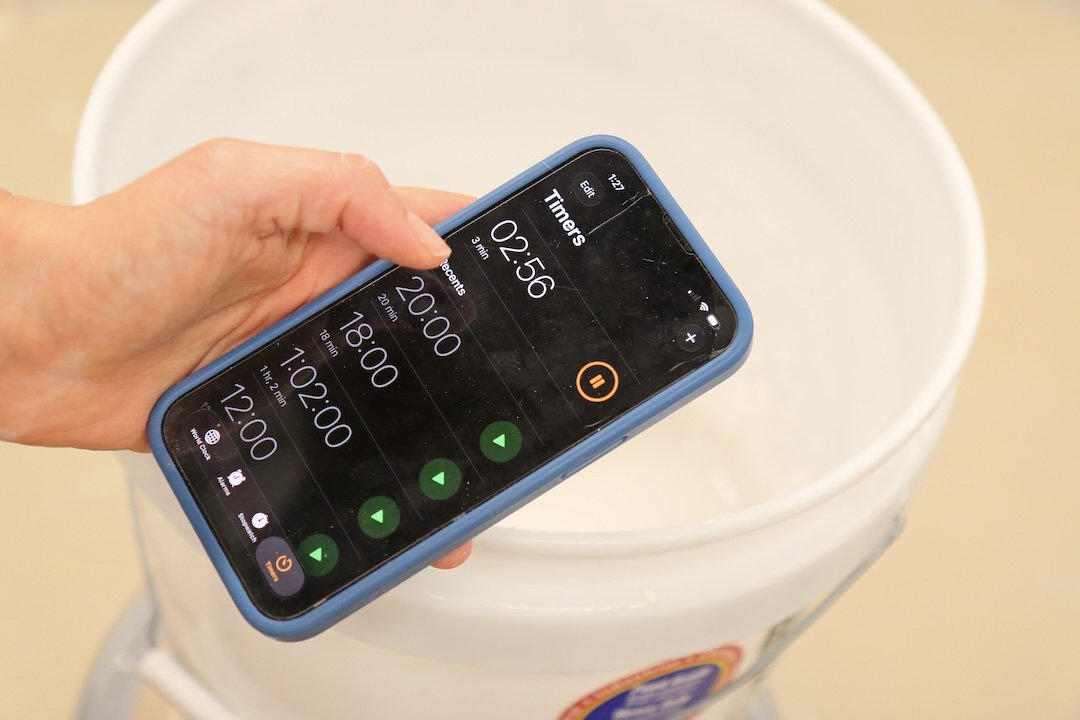
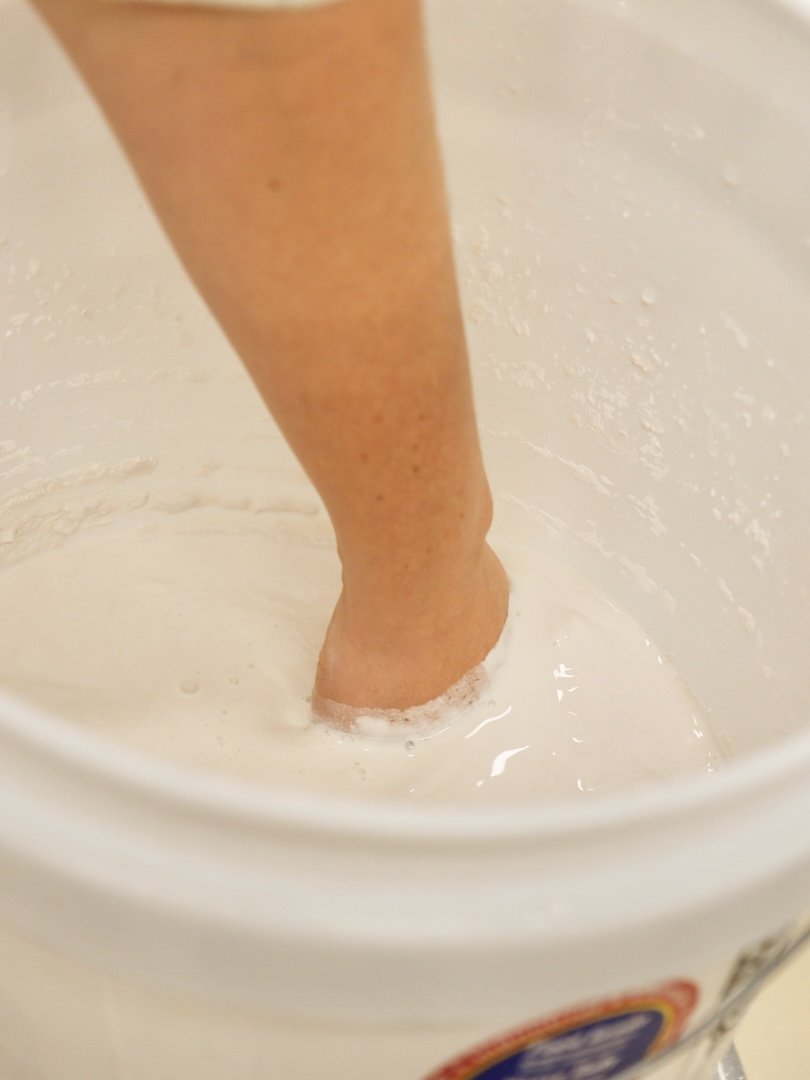
5. Mix gently
After slaking, set a timer for 3 minutes. Mix by hand using slow, gentle movements in one direction. Do your best to avoid incorporating air. Make sure the water sitting at the top gets fully incorporated too. This often takes a bit of focused mixing.
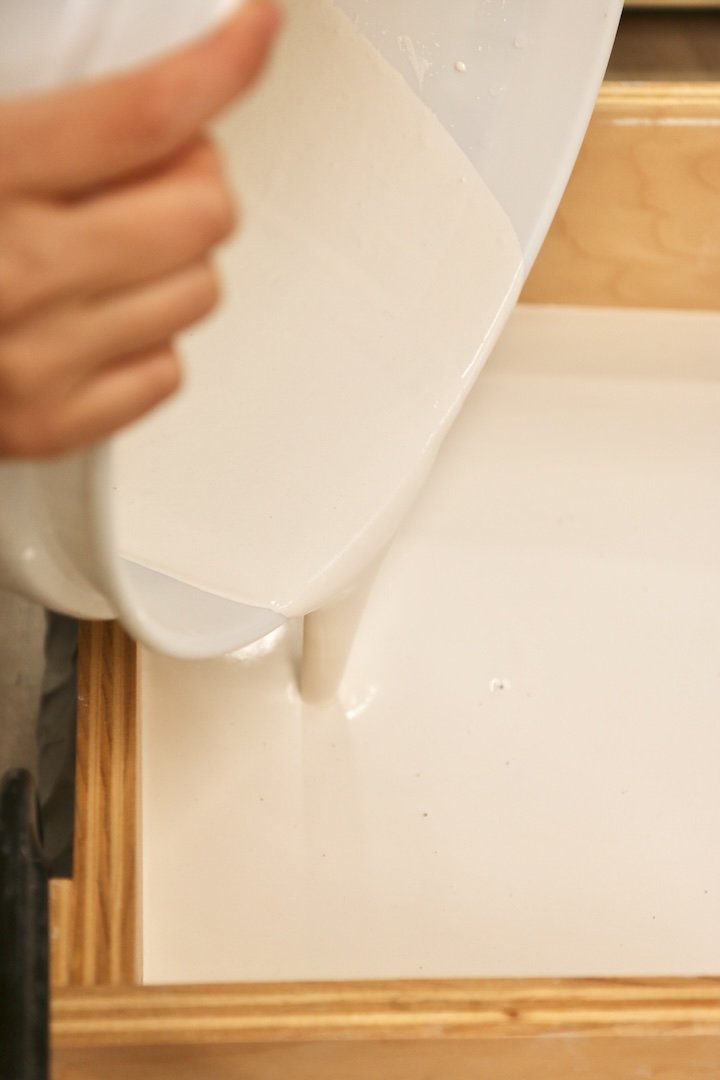
6. Pour into the mold
After 3 minutes of mixing, pour the plaster slowly and in a controlled stream into your mold. Pour the plaster in one spot. You may need to help plaster into the corners. Use your hands to help spread the plaster evenly. Gently tap the table to release air bubbles. If desired, lightly mist the surface with rubbing alcohol to pop surface bubbles. Leave it to set for about 20 minutes.
7. Clean Up after Demolding
Clean up sharp edges with a green scrubby or rasp. You can use a little water while smoothing. Always round the edges as sharp plaster chips easily! Then prop the slab upright to dry completely. Drying can take several days to a week, depending on thickness.
Once dry, your slab is ready to use for making colored clay or drying out reclaim!!
Additional Notes & Tips
Thickness matters. Remember that the larger the slab, the heavier it will be. A slab only needs to be about 1–1.5 inches thick. Over that, its going to feel like a tank when moving it around. That being said, the bigger/thicker the slab, the more water it will hold. However, I find a 1.5” slab perfectly suitable for drying out a large batch of slip. I only use it once before I prop it up to dry.
After working with wet plaster, clean up immediately. Rinse hands, buckets, and tools right away. Once plaster sets, cleanup becomes much harder and you may lose the bucket entirely.
A bag of plaster has a shelf life of roughly one year. If your plaster is old, do a small test batch first to make sure it isn’t clumpy or hard to work with.
Keep plaster dry. Moisture shortens its shelf life. If your studio is damp, double-bag your plaster or store it as airtight as possible.
Keep plaster and clay separate. Clean thoroughly. Plaster chunks in clay can cause plaster pop-outs during firing because plaster does not shrink, while clay does.
Dull edges prevent chipping. Sharp edges break off easily and can contaminate clay.
Dry slabs between uses. A saturated slab should be dried before reuse. Propping it upright with airflow on both sides and a fan can help it dry overnight instead of days.
Your plaster slab will keep for many years. Just clean it with water and a sponge between activity.

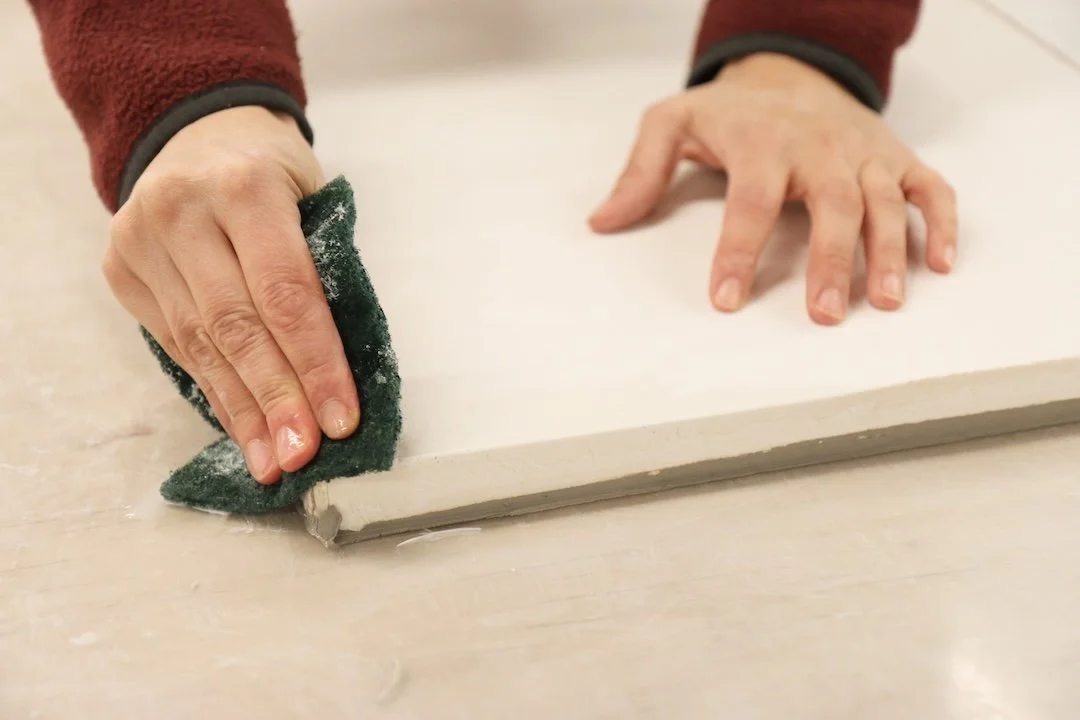
Use a green scrubby pad to round and soften the plaster’s sharp edges.
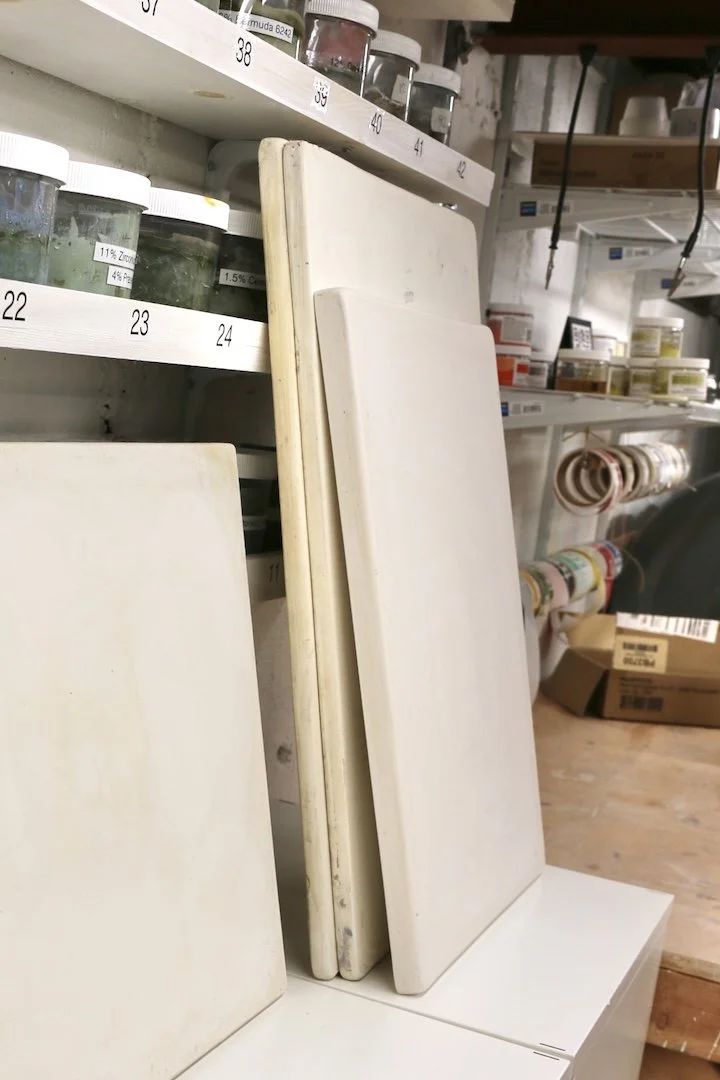
Prop your slabs upright. This will speed up the drying process by allowing air to circulate around all sides. For an even speeder dry time, aim a fan on it overnight.
A dried slap is ready to use!
Did you find this post helpful? I would love feedback to understand whether or not my explanation came across clearly. I want to update and adjust information if needed. Thank you!